Installation of universal arch extensions
Universal fender flares are a very necessary thing for any car. There is a counter question. Factory arches not according to plan? As it turns out in many cars, this is a sore subject.
1 Installation of the arch
Most often, such arches, both plastic and rubber, are installed on jeeps and SUVs, ensuring the safety of the front and side windows. The usefulness of the acquisition and installation is difficult to overestimate.
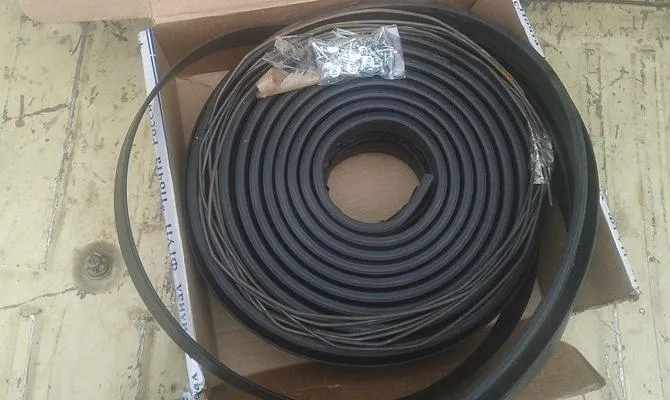
Installation is fast and requires a few simple steps. For installation you will need: rubber or plastic arches and the mounting system included in the kit. Supplied metal plates must have an additional number of holes, from two to four. This is done to better secure the arch. Also, during installation, cannon grease may be needed, it will not be difficult to find it. Before starting work, the work area must be cleaned, smoothed and smoothed.
Rubber arches with fastening system The edge of the wing also needs to be treated with gun grease. Be sure to process the outside and inside, excess fat later needs to be removed. This will prevent corrosion, delay it and there will be no surprises after the arch is installed. Putty is not suitable for these purposes.
Mounting strips must first be inserted into the arch (rubber or plastic) from both sides. They should not be placed directly on the edge, but at a distance of two to three centimeters so that they are not visible. If the arch is rubber, insert one side of the plate, and by lifting the other side with a screwdriver, fix it tightly. If the serial number plate is too wide, one of the edges may be sharp.
Insert mounting plates
The wheel arch rubber bands should fix the plates. Before installation, it is worth measuring the length of the tape. If the length does not meet the requirements, it can be cut off.
Self-tapping screws are selected small in length and without a drill, since it will take much more time with a drill.
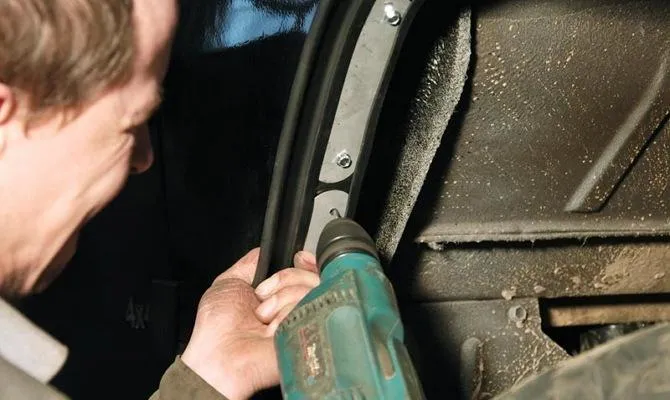
We take a self-tapping screw and fasten it to the body. In order not to hold on, we initially outline the place of fastenings in the arch, screw it in a little and start screwing it. For convenience, you can use a screwdriver. The most difficult thing is to screw in the screw first, then the monotonous work will begin. We press the arch with one hand, and fasten the self-tapping screw with the other. When screwing in, it is necessary to apply efforts to push the metal layer, and in the future it is only necessary to tighten it.
Mounting the expansion arch
The narrower the wheel arch extensions are, the better the wheel arches will be fixed.
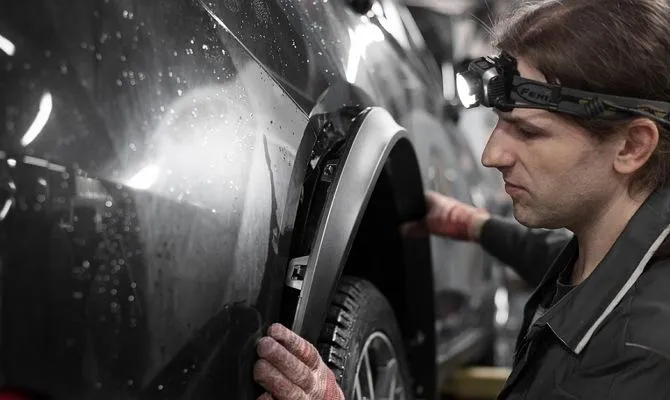
When you're done screwing in the expander, you'll need to keep an eye on the fold line. Curvature can start at the ends, for this you can remove one of the plates. After installing the arch, it can be painted in the color of the car.
If the wing is plastic, you need to perform an order of magnitude fewer steps. Mounting plates are not included. The factory fender has pre-drilled holes for self-tapping screws and is easier to install. To do this, you need to measure the car body and make the appropriate notches, and then screw it to the body. Their thickness can be 5090120 mm, everything will depend on the desire and goals.
As a rule, wings are very resistant to deformation and high loads. Many crash tests show that even a weight of 1.5-2 tons is easily carried by the wing itself.
2 Do-it-yourself expanders
Wings can be made by hand. The practice of many motorists shows that this is possible and, with the proper level of dexterity, is done quickly.
We will need electrical tape, screwdrivers and other tools to remove the wheel arch lining, self-tapping screws, a hair dryer, to dry the sculptural clay. If the sculptural clay is not dried with a hair dryer, it will take a long time to dry. The arch will be created on the principle of a rough frame: initially, a plasticine product is created at the installation site, processed with fiberglass, and the source code is finalized for the next work. Arcs will be created from the resulting matrix.
Plasticine product at the installation site. First of all, it is necessary to wash the workplace so that there is no dirt and foreign elements. Then we stick adhesive tape so as not to damage the paint of the car. This process must be approached with extreme caution, because even the smallest hole can have irreversible consequences.
Next, we take sculptural clay, it is quite difficult. To soften it, you need to use a hair dryer and heat it. Before opening, it is necessary to mark the contour, this will facilitate the work. Heated clay becomes soft and pliable. Apply to the body and wait for it to dry. After starting work with a draft version, we need spatulas and a metal ruler.
Having created a wing model from plasticine, you need to move on to the next step. A green gelcoat is applied to the layout, this is done carefully, without gaps. We wait for drying and apply fiberglass to a rough matrix. Take a hair dryer to speed up the curing process.
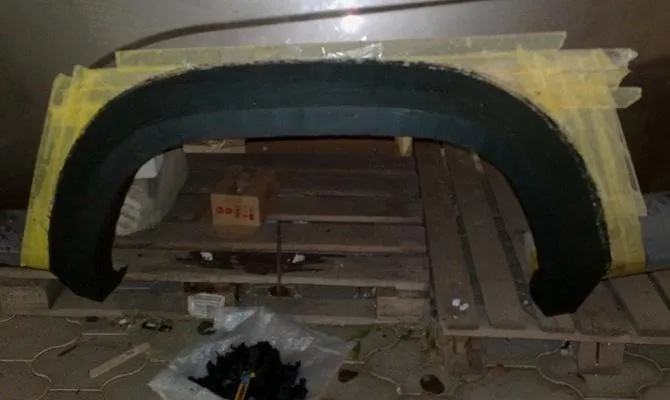
The matrix is ready. We begin to remove the adhesive tape and remove the matrix from the wing of the car by prying the matrix. Inside the finished matrix, we warm up the plasticine and take it out. The result is a ready-made form of the future wing.
Off-road wings will come in handy for those drivers who love off-road. Various frictional and clay soils can be troublesome. The fenders do an excellent job of managing excess water and mud flow, keeping the windshield and side windows safe. The choice of material and installation option is determined by personal preferences. It is best to contact a car service that will solve all problems in a short time.
